How to Flush Your Water Heater
Water heaters are one of the most important appliances in your home. They’re a significant investment, and most of our clients want to make sure they protect their investment for as long as possible. Performing annual maintenance on a tank-style water heater by flushing it will extend its life and can prevent a costly breakdown in your home. This guide will walk you through each step of how to flush your water heater safely and effectively.
Why You Should Flush Your Water Heater
Flushing your water heater is easy and will remove the damaging sediment that can accumulate at the bottom of the tank after prolonged use. This sediment can block or clog your water heater’s pressure relief valve (that prevents bursting) and can cause corrosion. Sediment can also make your water heater less effective by reducing its hot water output over time, as well as making it less energy efficient.
Below is a simple guide to teach you how to flush your water heater:
Step-by-Step Guide: How to Flush Your Water Heater
Step 1: Turn Off the Gas or Electricity
If you have a gas water heater, turn the gas valve to the “off” position. If your water heater is electric, turn the electricity to the water heater off.
You must turn off an electric water heater completely before flushing, or you will risk burning out the heating element.
Step 2: Shut Off the Water Supply
Shut off your water heater’s water supply.
It’s important to wait for the water inside the water heater to cool before flushing, as it can remain scalding hot. Start this step at night after everyone in your household has no need for hot water. If you’re not worried about the temperature of the water, go right to step 3.
Step 3: Open a Hot Water Faucet
Open a hot water faucet somewhere in your house. If you want to drain your water heater faster, find the tub faucet as it likely has the highest flow rate in your home.
Step 4: Connect a Hose to the Drain Valve
For this step, you will need a hose that you will connect to the drain valve on your water heater. Then you will run the hose to a drain, either in your house or outside. A typical garden hose will be sufficient.
Step 5: Open the Drain Valve
Now that you have your hose all hooked up and positioned to a drain, open the drain valve on your water heater and allow the tank to completely drain.
Step 6: Flush the Tank with Fresh Water
After your water heater tank is completely empty, turn the cold water source back on. Then, allow water to run through the heater and out of the drain valve for approximately 5 to 10 minutes.
You will know your water heater is successfully flushed when the water runs clear out of the hose.
Step 7: Refill the Tank
Now that your water heater is flushed and all the sediment has been removed, it’s time to refill it. You should close the drain valve and remove the hose. Then, with the cold water source still on, allow the tank to refill. You will know the tank is full when water begins to come out of the hot water faucet you have left open.
Congratulations! Now your water heater is successfully flushed and ready to perform at maximum efficiency again. Following these simple steps will help you get the most out of your water heater year after year.
Professional Help When You Need It
At Water Heaters Now, we’ve helped homeowners and businesses across the Twin Cities keep their water heaters in top shape. Our same-day service and expert technicians make it easy to protect your investment and restore hot water fast.
Give us a call if you have any questions about how to perform this maintenance. Our expert technicians are standing by, ready to answer your questions.
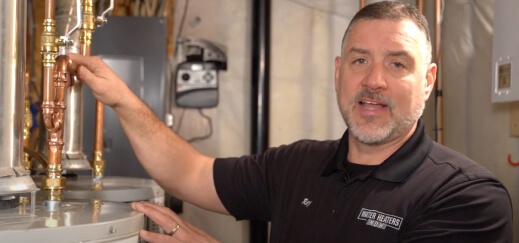
If you’d rather watch a video, here’s our CEO, Ray, demonstrating how to perform annual maintenance on a tank-style water heater:
Contact Information
Use the form to request an appointment. Walk-ins are welcome too.
- Tuesday 7 am-10 pm
- Wednesday 7 am-10 pm
- Thursday 7 am-10 pm
- Friday 7 am-10 pm
- Saturday 7 am-2 pm
- Sunday 7 am-2 pm
- Monday 7 am-10 pm
Get In Touch
"*" indicates required fields